Apply Design: Beginner’s Guide to Virtual Staging

If you are new to the world of virtual staging, you may be wondering how you can get started with virtual staging apps. For real estate professionals, photographers, and homeowners, virtual staging apps like Apply Design can be revolutionary. With a few taps on your screen, Apply Design enables you to transform an empty or outdated room into a beautifully furnished space. We provide this guide to help you get started with Apply Design.
1. Understanding Virtual Staging
Virtual staging is the process of digitally adding furniture and décor to property photos, showcasing the potential of a space. It’s a cost-effective and efficient way to make a property more appealing to potential buyers.
2. Choose the Right Virtual Staging App
Look for a virtual staging app that offers a wide variety of furniture and décor options, a user-friendly interface, quick turnaround times, and affordable pricing. Apply Design provides all of these features, making it one of the top virtual staging apps for beginners and professionals alike.
3. Upload Your Photos
With Apply Design, starting your virtual staging project is as simple as uploading your property photos onto the platform. Ensure your photos are high resolution and capture the room in good lighting from an angle that shows the space’s full potential.
4. Choose Your Furniture and Décor
Now you can select your virtual furniture and décor. Apply Design offers an extensive library of high-quality, realistic items to choose from. Whether you’re aiming for a modern, traditional, or eclectic vibe, you’ll find plenty of options to bring your vision to life.
5. Arrange Your Space
Once you’ve selected your items, it’s time to arrange them in your space. Apply Design’s intuitive, drag-and-drop interface makes this process easy, even for beginners. You can use the grouping feature to select and arrange multiple objects at once. Experiment with different layouts until you find the one that works best. Â
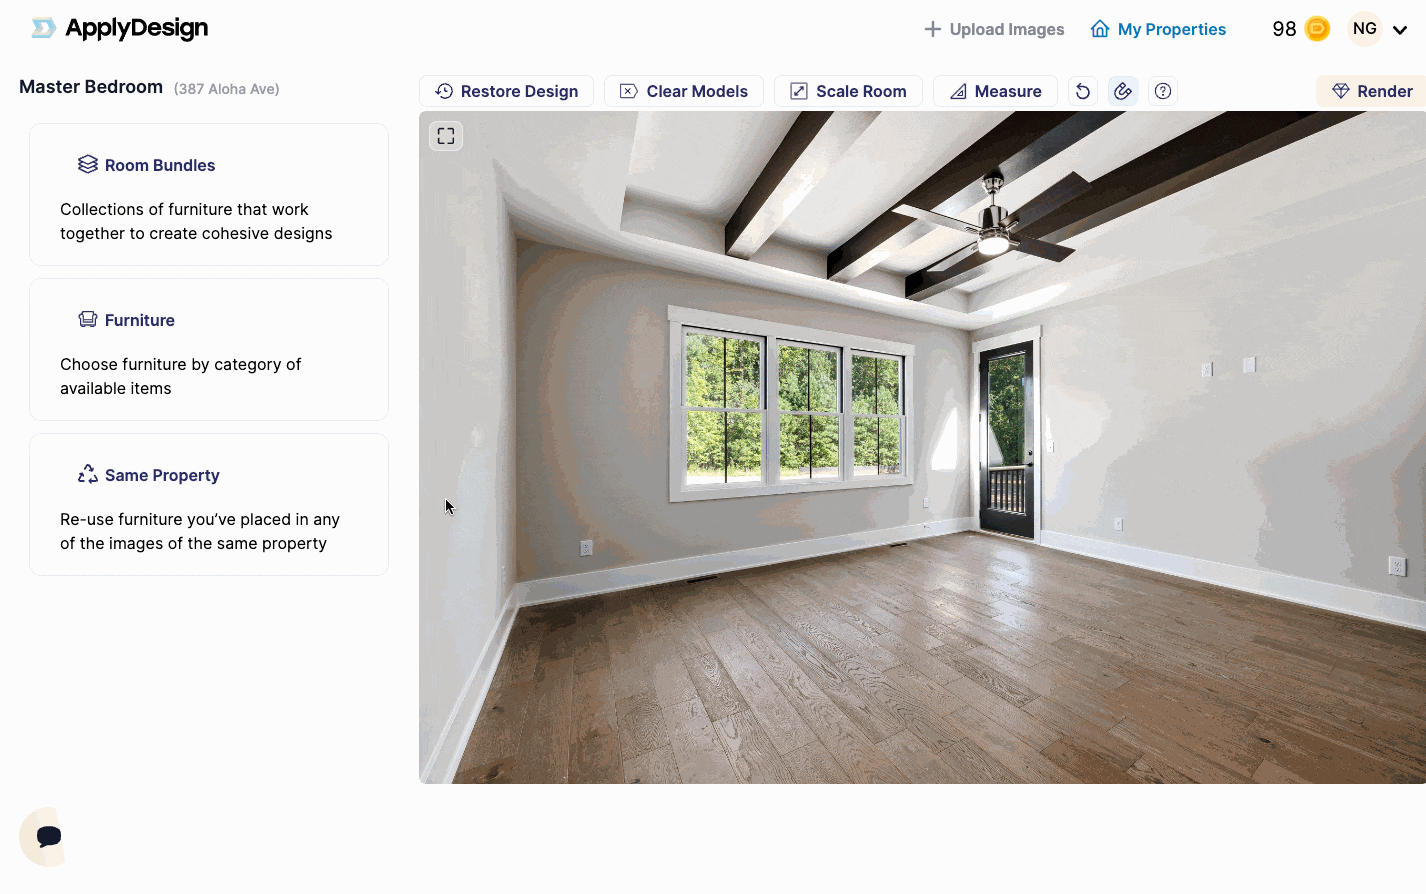
Look how easy it is to find a room bundle and arranging the space.
6. Render Your Space
With your items chosen and in place, you can now “render†the space. This is the process of transforming the space to become realistic. Choose a format and size for your image, and then click “render.†After a few minutes, Apply Design will provide your virtually staged photos.
7. Review and Save Your Staged Photos
Take a final look at your virtually staged photos. Make any necessary adjustments, and once you’re satisfied, save your work. With Apply Design, this whole process can be completed in minutes.
8. Share Your Virtually Staged Photos
Your newly staged property photos are complete. Use them in your listings, social media posts, or anywhere else you want to attract potential buyers’ attention.
Finally, practice can improve your finished products. The more that you use Apply Design’s virtual staging app, the more comfortable you’ll become with its features and capabilities.
*Blog by Asaf Amit for ApplyDesign. Read the original post here: https://www.applydesign.io/post/a-beginners-guide-to-virtual-staging-apps-getting-started-with-apply-design
Leave your comment